Hi all!
FotoSketcher 3.96 for Windows is now officially released!
Head over to https://fotosketcher.com/download-fotosketcher/ to download either the standalone version (no need to install, just run the .exe file) or the version with setup.
For MacOS users (with M1, M2, M3 or M4 Apple processors), FotoSketcher for Windows can run on your Mac ;)
You first need to install the free program Whisky avalaible here: https://getwhisky.app/
Once installed, download the Windows version of FotoSketcher and execute it on your Mac. It works well and fast.
Here is a list of changes and improvements in this release:
- new user interface, with a more modern look and improved legibility
- the list of effects is now more compact, allowing for more effects to be added in the future without having a huge dropdown list
- fixed a bug where the print preview would not update
- various stability and speed enhancements
- texture can now be more fine tuned (from 0% to 100%)
- new Pencil Sketch 6 effect as shown below
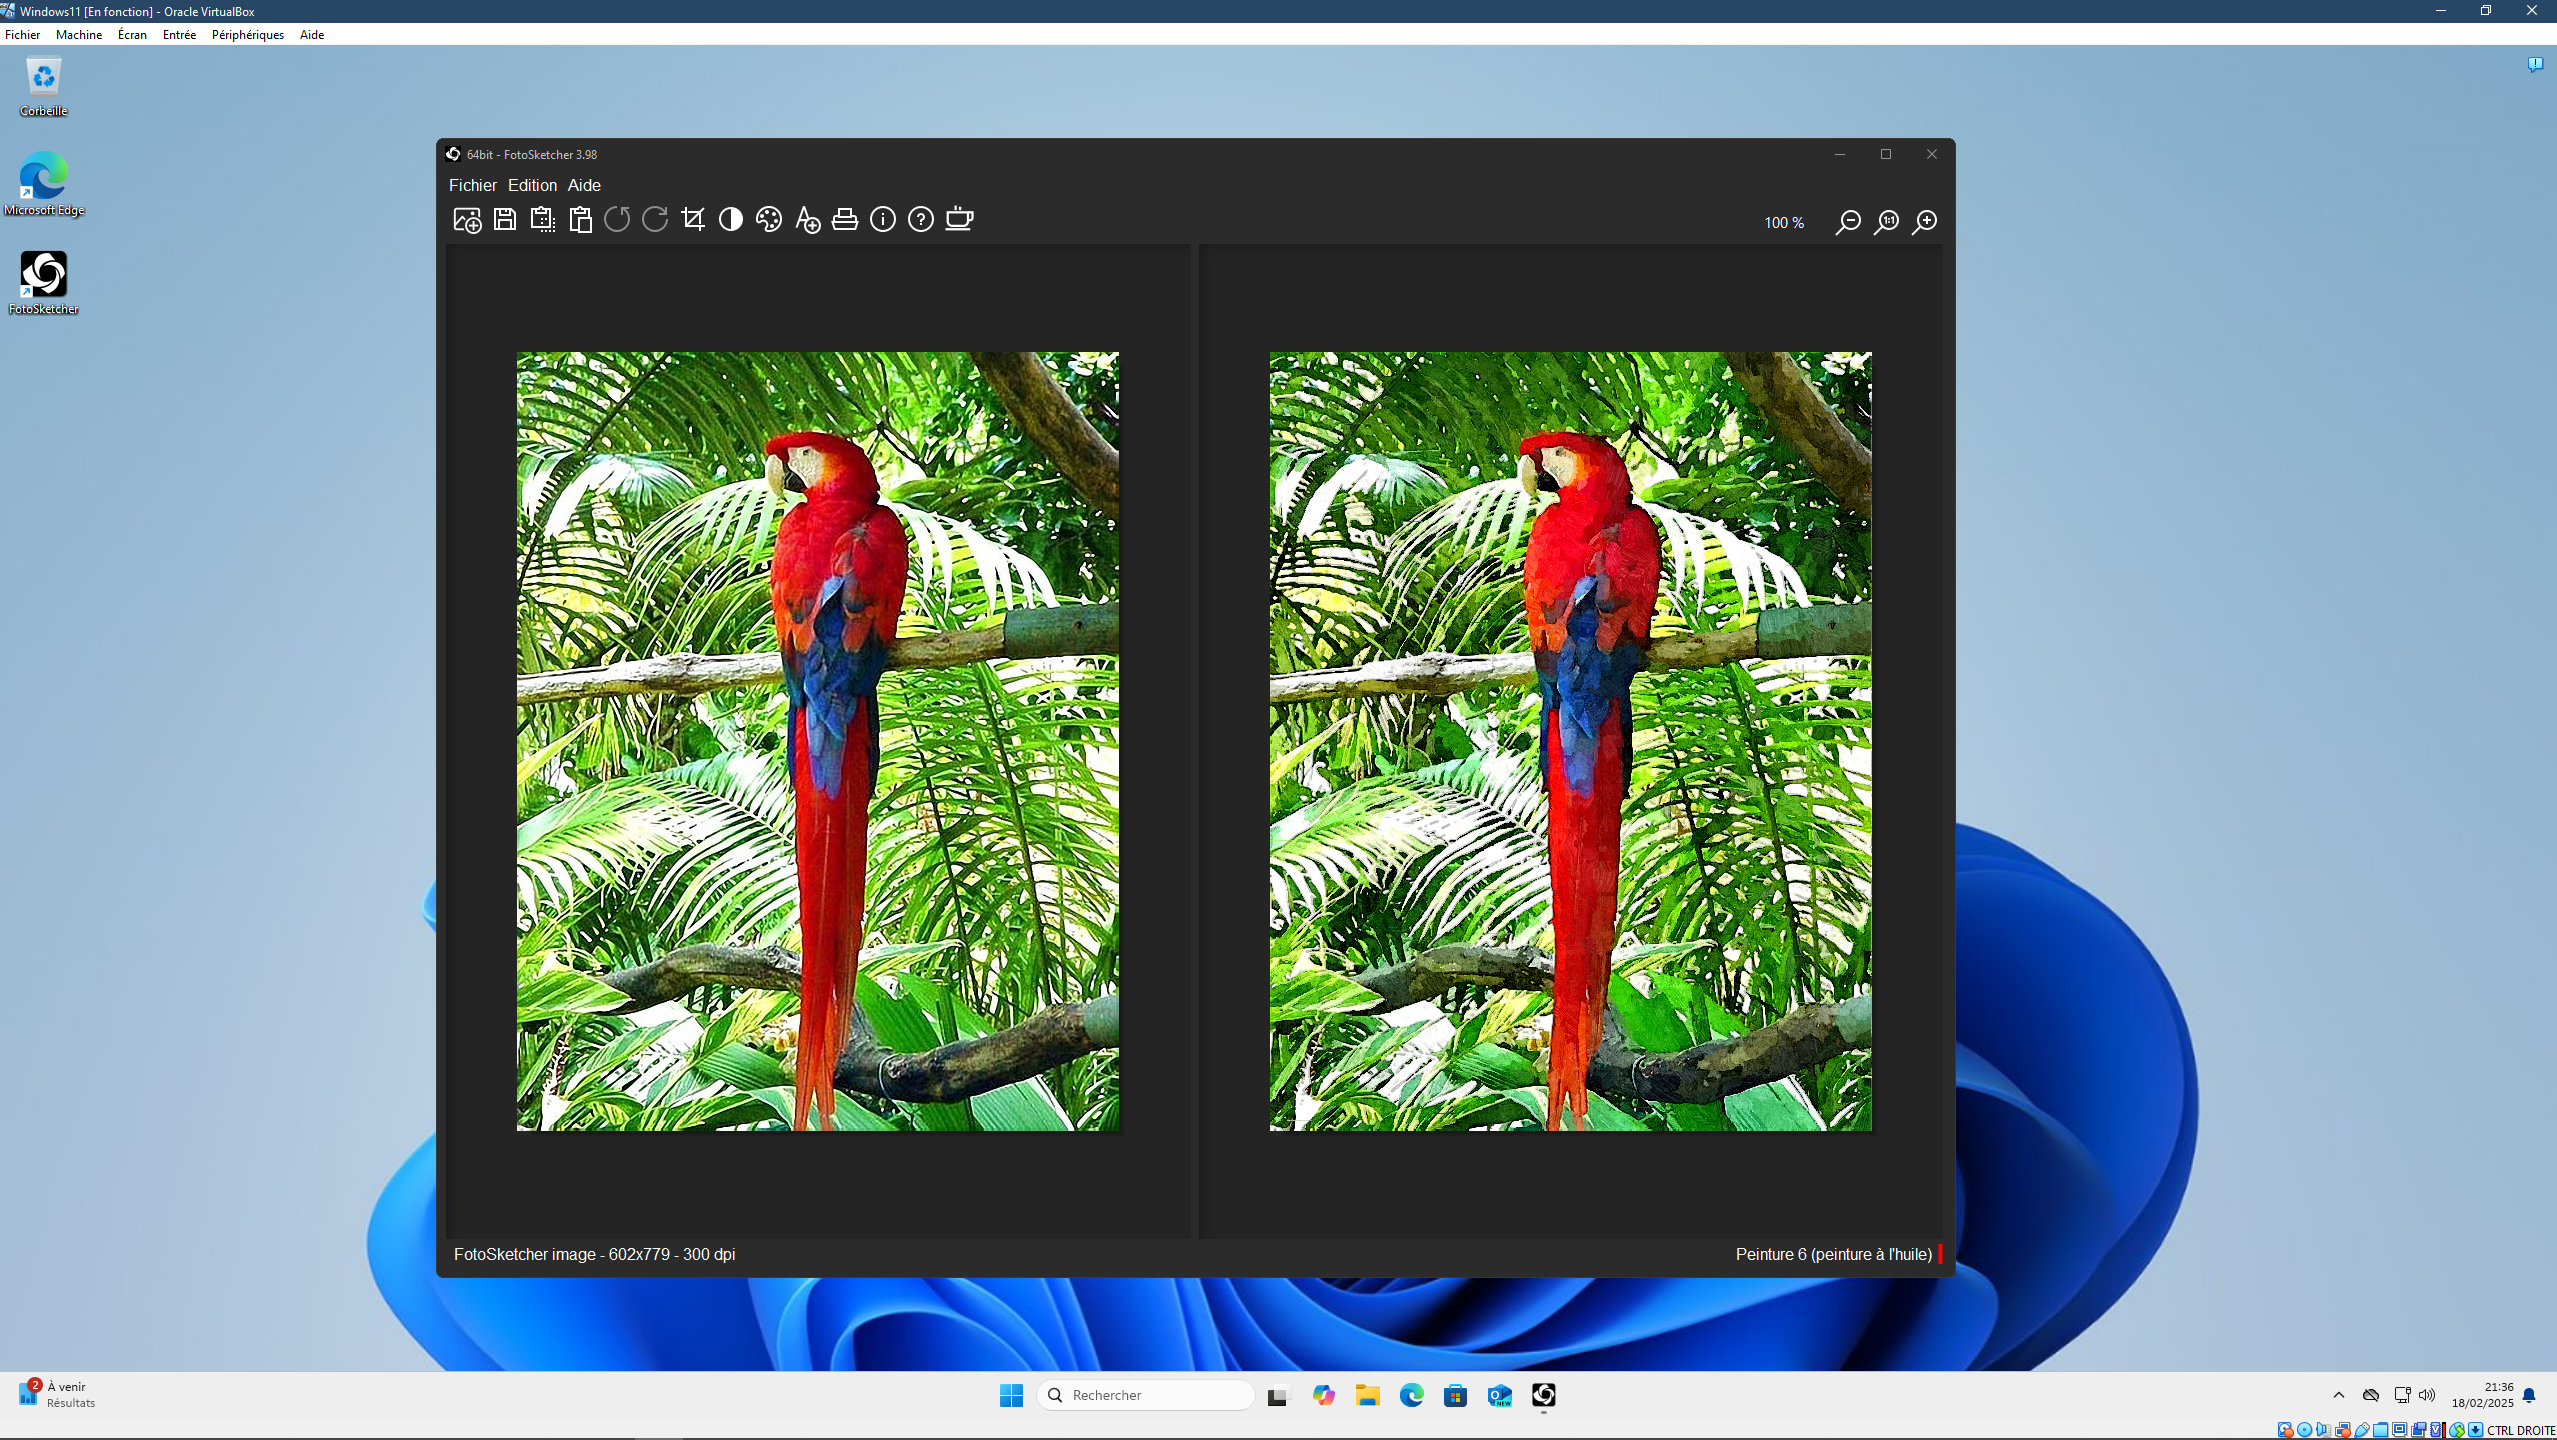
A here is a screenshot of the new UI:
New Pencil 6 Sketch example
Painting 9 and Pencil Sketch 6 combined using "Merge source and result images" (in miscellaneous effects).
As always, FotoSketcher is 100% free to use, even commercially (if you wish to sell your artwork for instance).
Enjoy :)
All the best,
David


.jpg)

